6th July 2023
When it comes to product photography, lighting plays a crucial role in capturing the essence of your products, highlighting their features, and creating visually captivating images. In this post, we’ll explore essential lighting techniques that will help you effectively light your products, enabling you to showcase their best qualities and enhance their overall appearance. Whether you’re a beginner or an experienced photographer, these tips will elevate your product photography skills to new heights.
Understand the Importance of Lighting
Before diving into specific techniques, it’s essential to grasp the significance of lighting in product photography. Proper lighting not only illuminates your subject but also sets the mood, enhances textures, and draws attention to specific details. Take the time to study how different lighting setups can influence the overall feel and impact of your images.
Utilize Natural Light
Natural light can be a product photographer’s best friend. When shooting near windows or in outdoor environments, harness the soft, diffused light to achieve a pleasing and natural look. Experiment with various angles and times of day to find the best lighting conditions that flatter your products. Reflectors and diffusers can help control and modify natural light to achieve your desired results.
Create a DIY Lightbox
For controlled and consistent lighting, consider building a DIY lightbox. Using inexpensive materials like foam board, fabric, and diffusing material, you can construct a portable lightbox to diffuse light evenly around your subject. This setup eliminates harsh shadows and provides a clean, professional look suitable for a wide range of products.
Implement Three-Point Lighting
One of the most commonly used lighting setups in product photography is three-point lighting. It involves three key components: the key light, fill light, and backlight. The key light is the primary light source, providing the main illumination and shaping the overall look of the product. The fill light softens shadows and balances the contrast, while the backlight separates the subject from the background, adding depth and dimension. Mastering this technique allows you to create beautifully lit product images.
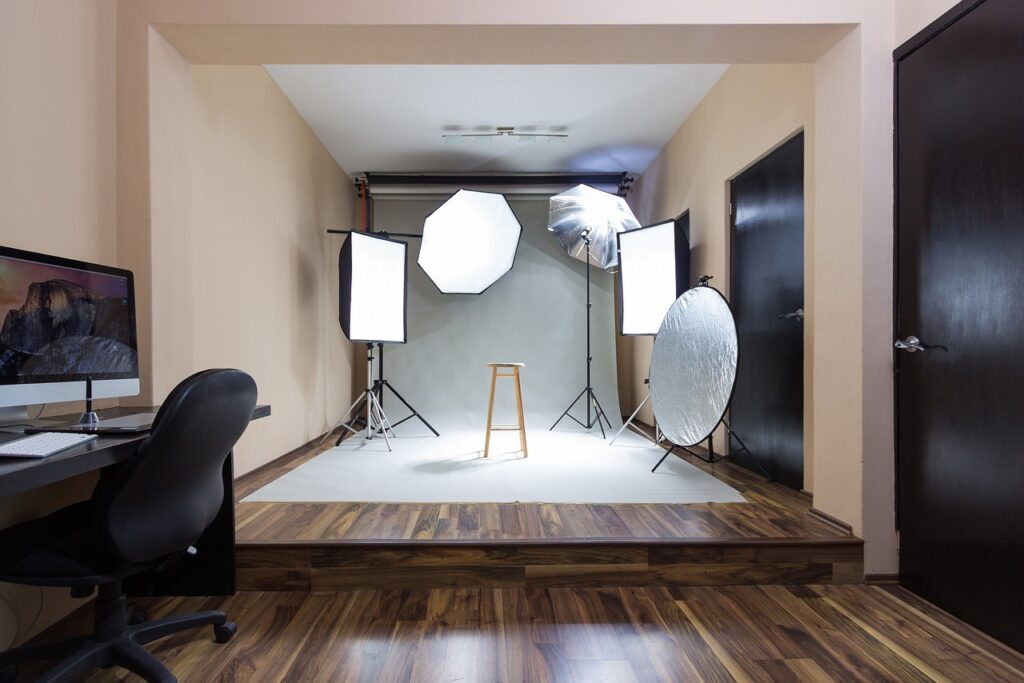
Experiment with Light Modifiers
Light modifiers such as softboxes, umbrellas, and diffusers help control and shape the quality of light. Softboxes produce soft, diffused light, ideal for highlighting textures and minimizing reflections. Umbrellas can create broad, even lighting, while diffusers help soften and scatter harsh light. Explore different modifiers and their effects to find the ones that suit your product and desired aesthetic.
Use Accent Lighting
Accent lighting adds an extra touch of visual interest and can be particularly effective for highlighting specific product details or creating a particular mood. Consider using accent lights, such as small spotlights or strip lights, to draw attention to key elements or create a dramatic effect. This technique works particularly well with jewelry, electronics, or products with intricate designs.
Control Reflections and Shadows
Reflections and shadows can either enhance or detract from your product images. Pay attention to the positioning of your lights, use reflectors to bounce light back into shadow areas, and employ flags or black cards to block unwanted reflections. Careful control of reflections and shadows will allow your products to stand out while maintaining a professional and polished appearance.
Mastering lighting techniques in product photography is a continuous learning process. By understanding the significance of lighting, utilizing natural light, creating a DIY lightbox, implementing three-point lighting, experimenting with light modifiers, using accent lighting, and controlling reflections and shadows, you’ll be well on your way to capturing stunning product images that showcase your products’ features and enhance their overall visual appeal. Remember, practice makes perfect, so don’t be afraid to experiment and develop your unique lighting style. Happy shooting!